Presentation Checklist for Exhibition Quilts / Quilts for Display
- All entries must be clean and in ‘as new’ condition.
- All quilts wider than 100 cm / 39 ” must have a 10 cm hanging sleeve securely stitched to the full width of the quilt (see Hanging Sleeve below).
- Each article requires a label stating at least name of the exhibitor and the title of the quilt (preferably on the lower edge of the quilt). The label should be covered with a piece of calico with the quilt’s category number for judging. This should be tacked with large stitches along all edges so that the details can be checked if necessary but cannot be seen during judging. Note: you will receive the Island Quilts category numbers for your quilts via email before depots open.
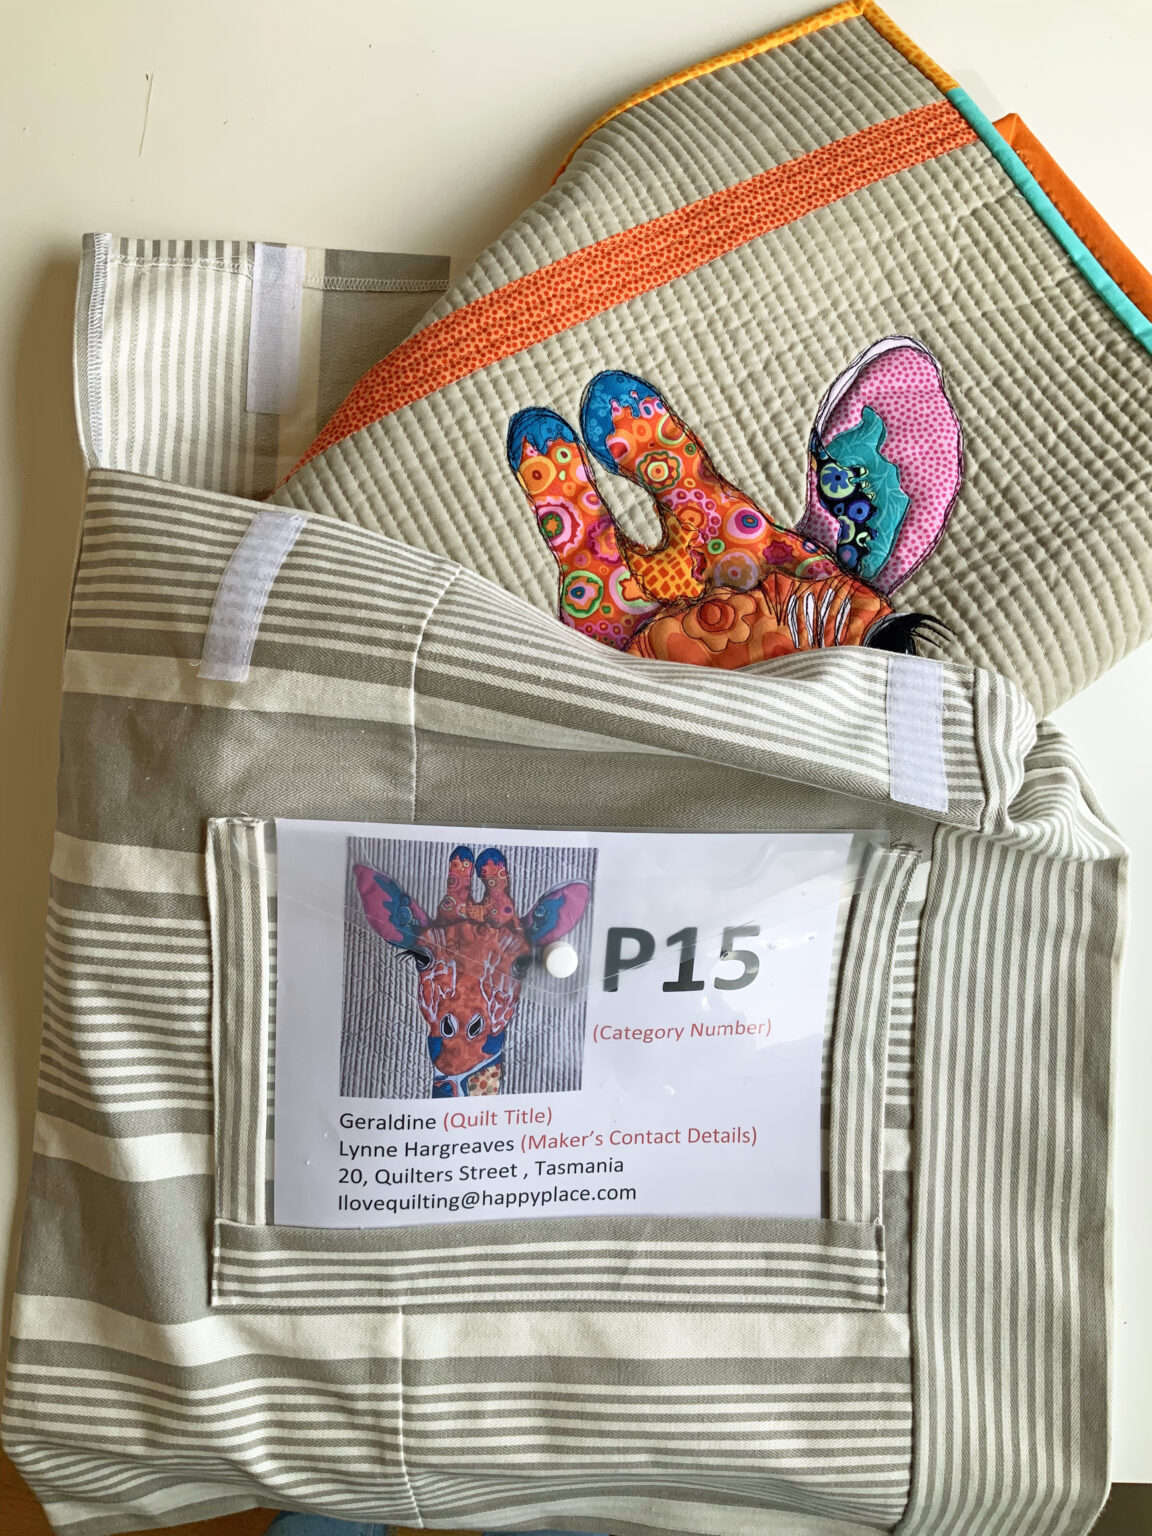
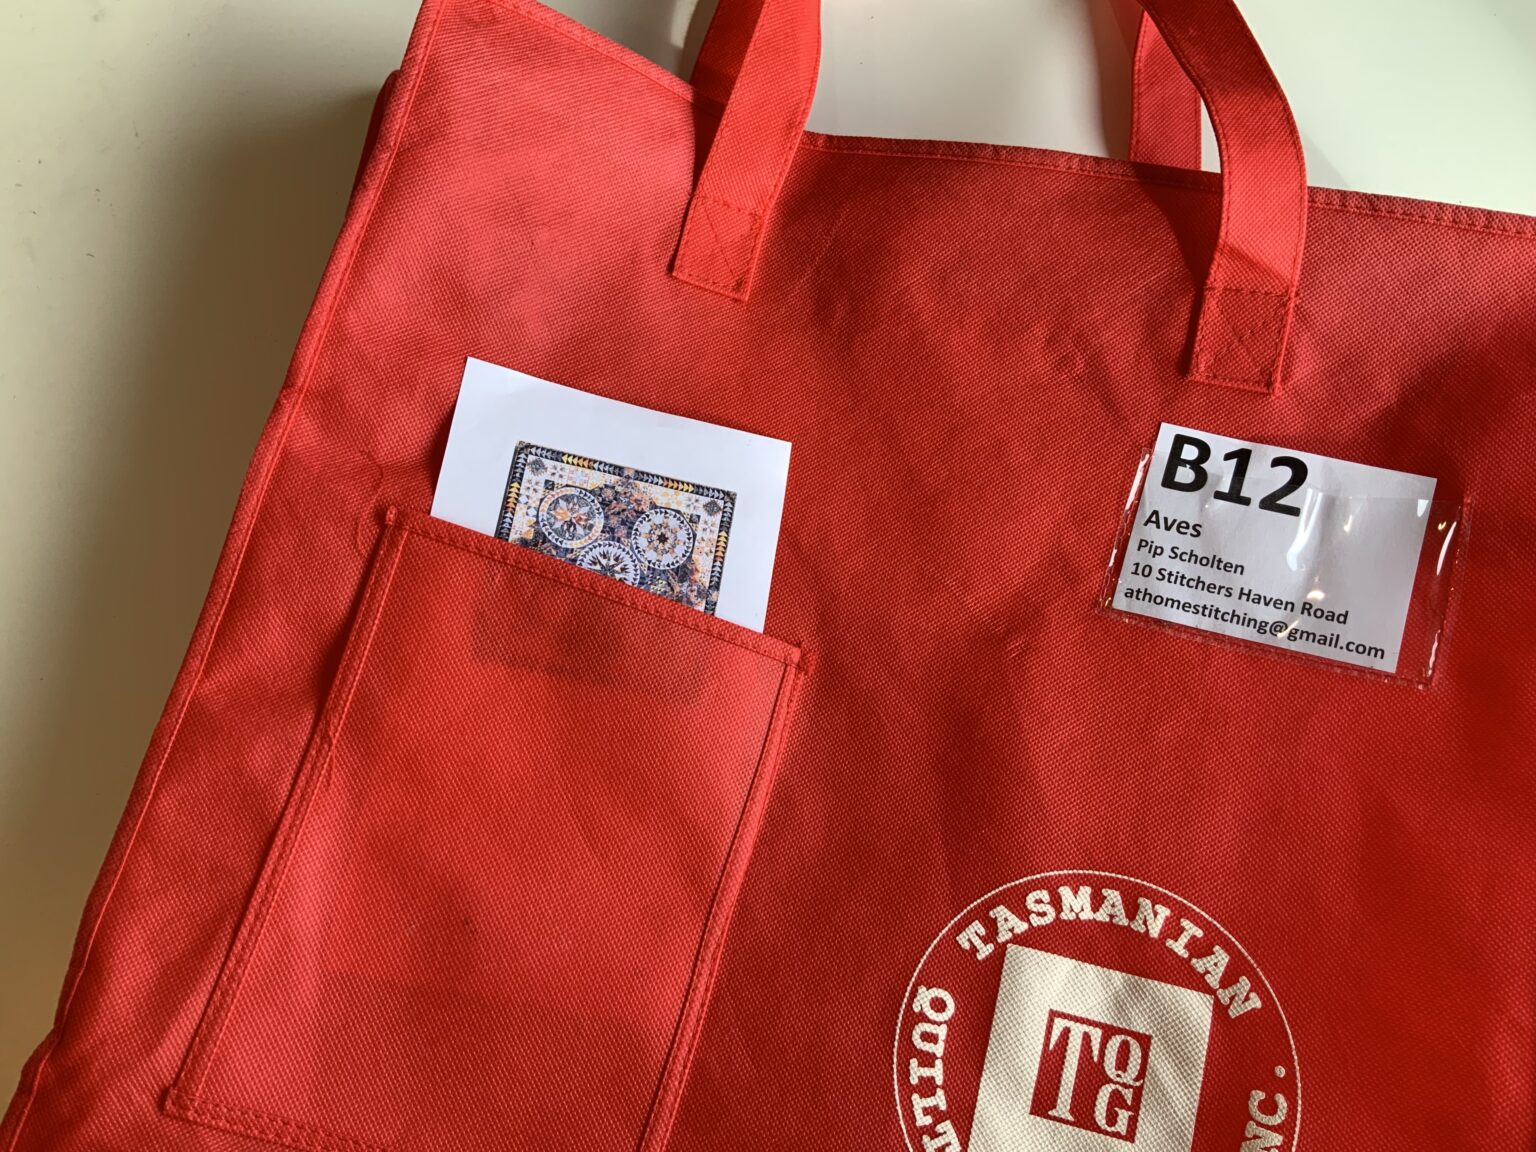
- Each article must be delivered in its own appropriately sized cloth bag. Quilts in plastic bags or pillow cases will not be accepted. The bag must be clearly labelled with:
- The quilt name
- The category number
- Your name and contact details
- A photo of the quilt (optional but helpful)
Hanging Sleeve
Quilts smaller than 100 cm / 39 inches in width do not need a hanging sleeve.
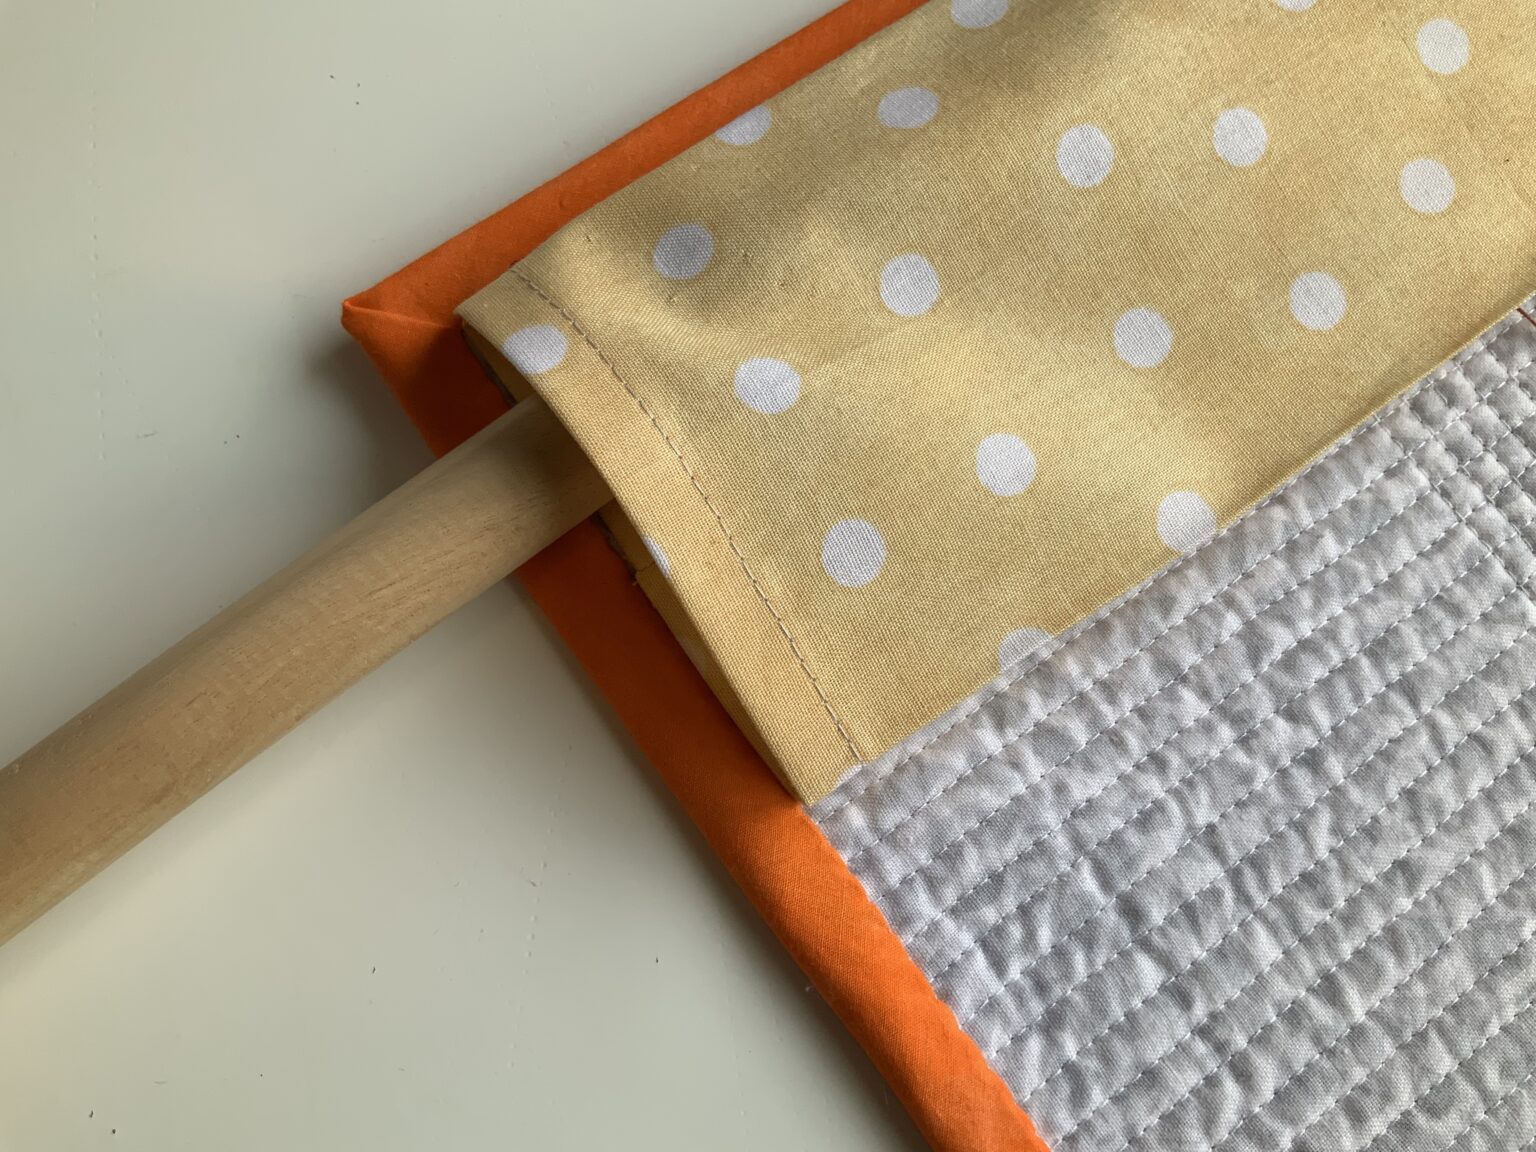
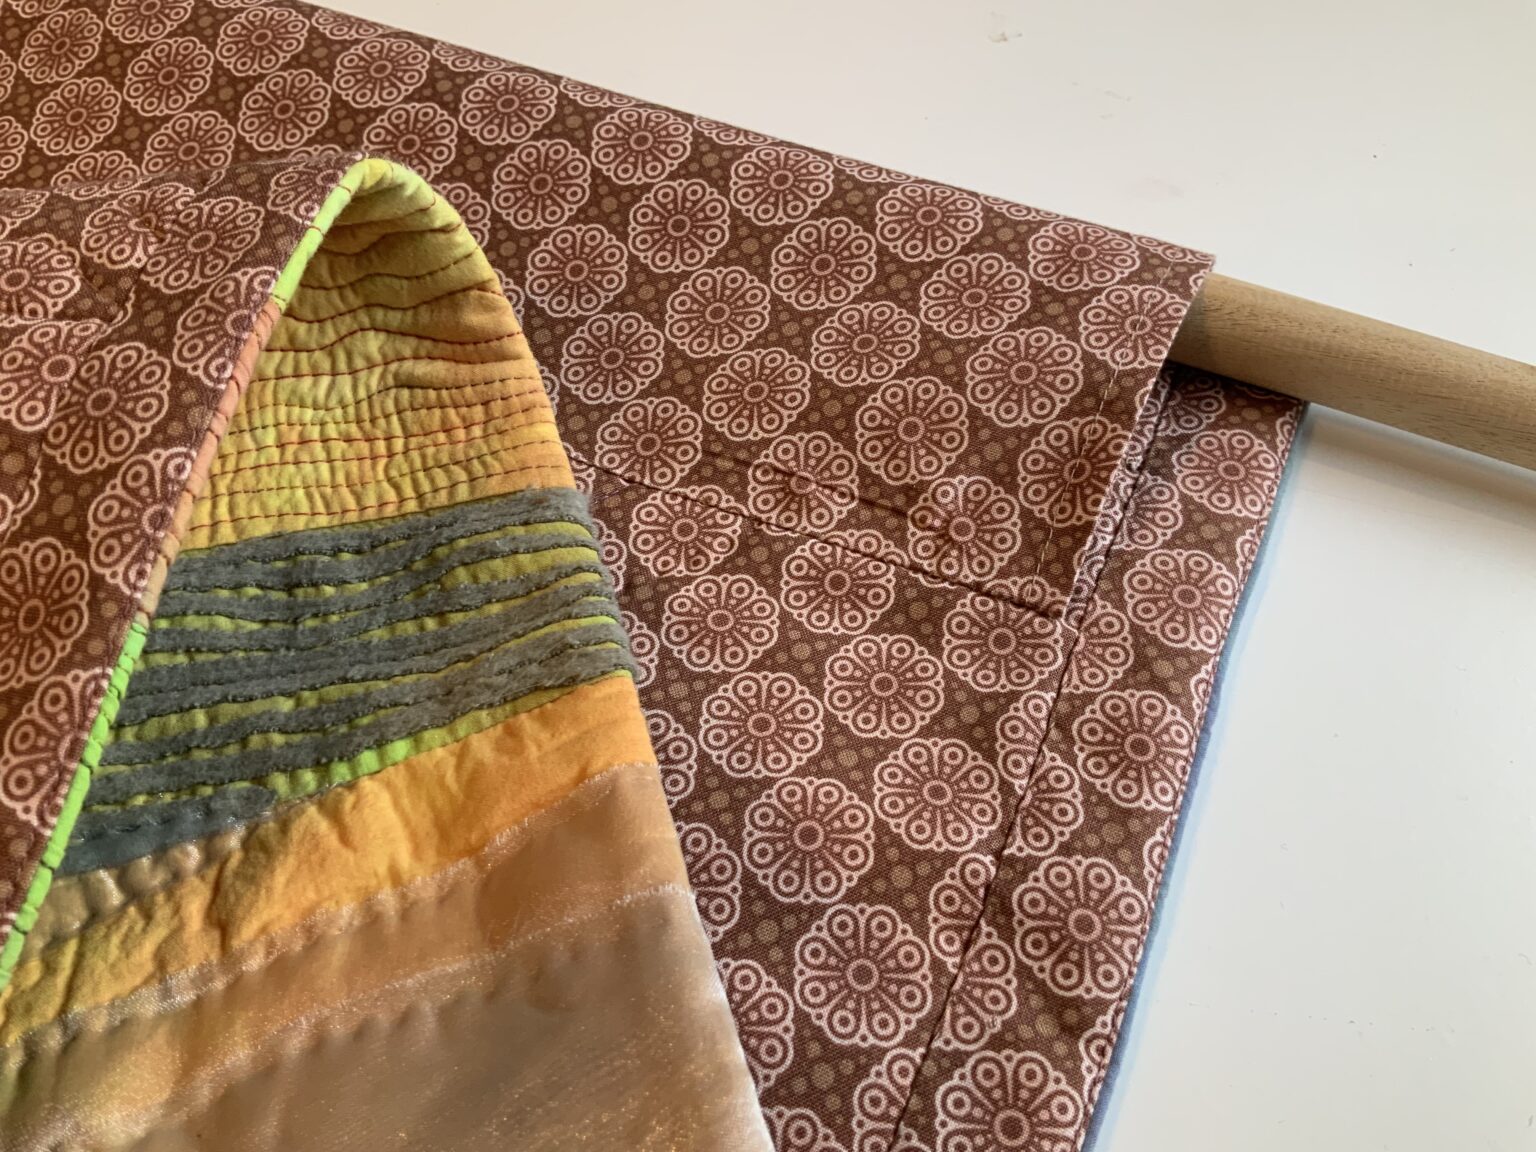
All quilts wider than 100cm / 39 ” must be submitted with a hanging sleeve on the back to the depth of 10 cm / 4”. This is necessary to easily accommodate the diameter of the quilt stand rods. This means you need strips of fabric 8½” to 9” wide and equal to the width of the top edge of the quilt. If you plan this when calculating the amount of fabric you need for the back of your quilt, the sleeve will match and will not affect the appearance of the quilt.
A full width hanging sleeve is preferred, however, split hanging sleeves will be accepted. A full width hanging sleeve is easier when sliding the hanging rod into the sleeve and reduces the potential for accidental damage.
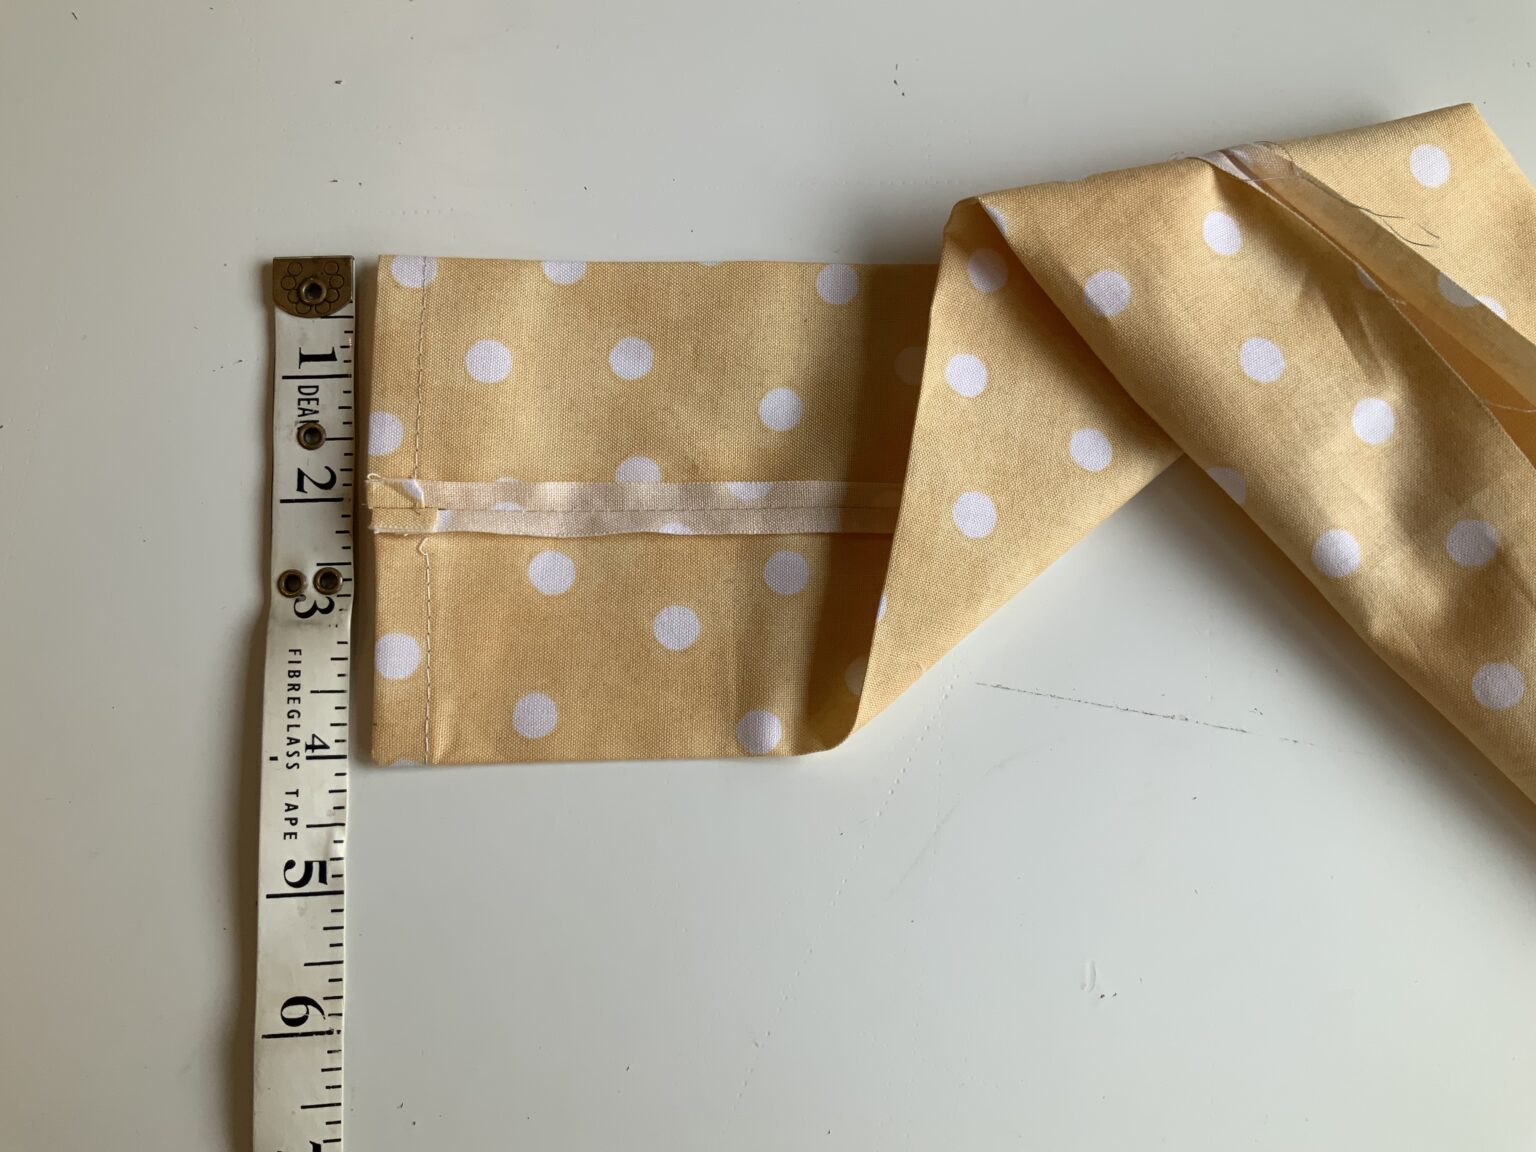
Calculate the width that the sleeve needs to be to go across the top of the quilt and join fabric strips into one long piece. Fold, press and machine or hand stitch a ‘hem’ at each end of the strip.
Attaching the Sleeve with the Binding:
- Fold and press the strip, wrong sides together, so that one long edge of the fabric is between ¼” and ½” from the other edge of the fabric. This fold will be a guide for hand stitching to the back of the quilt later.
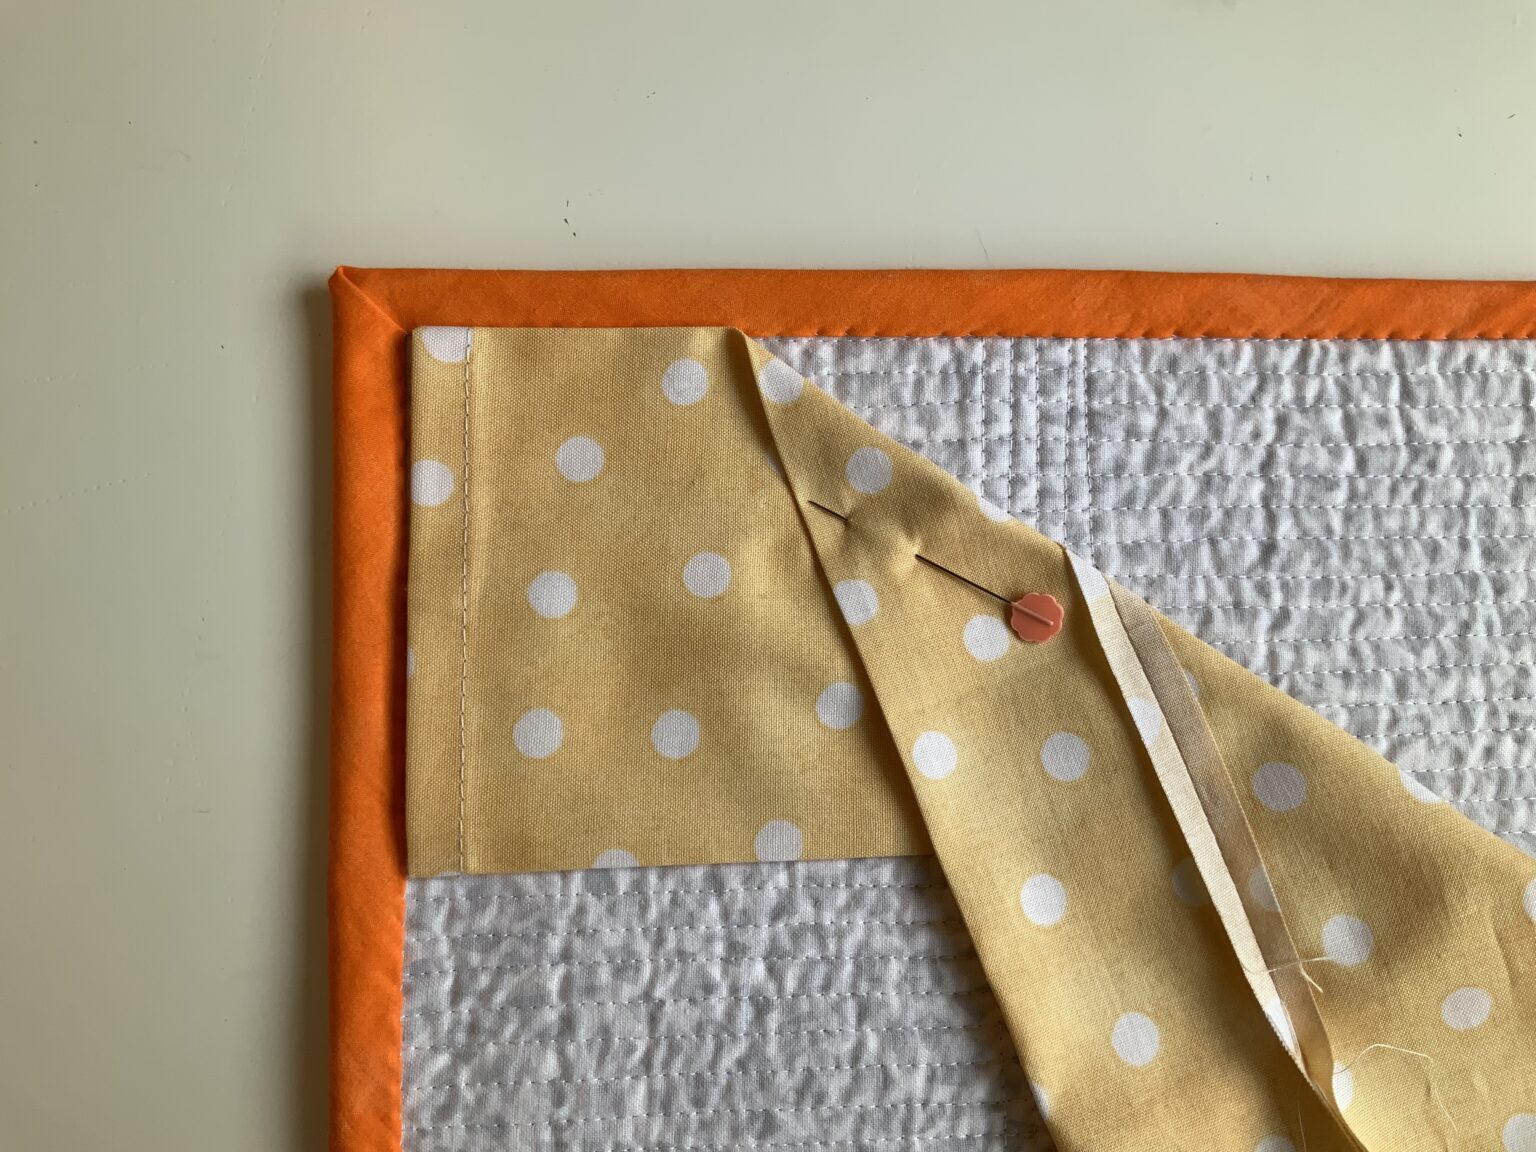
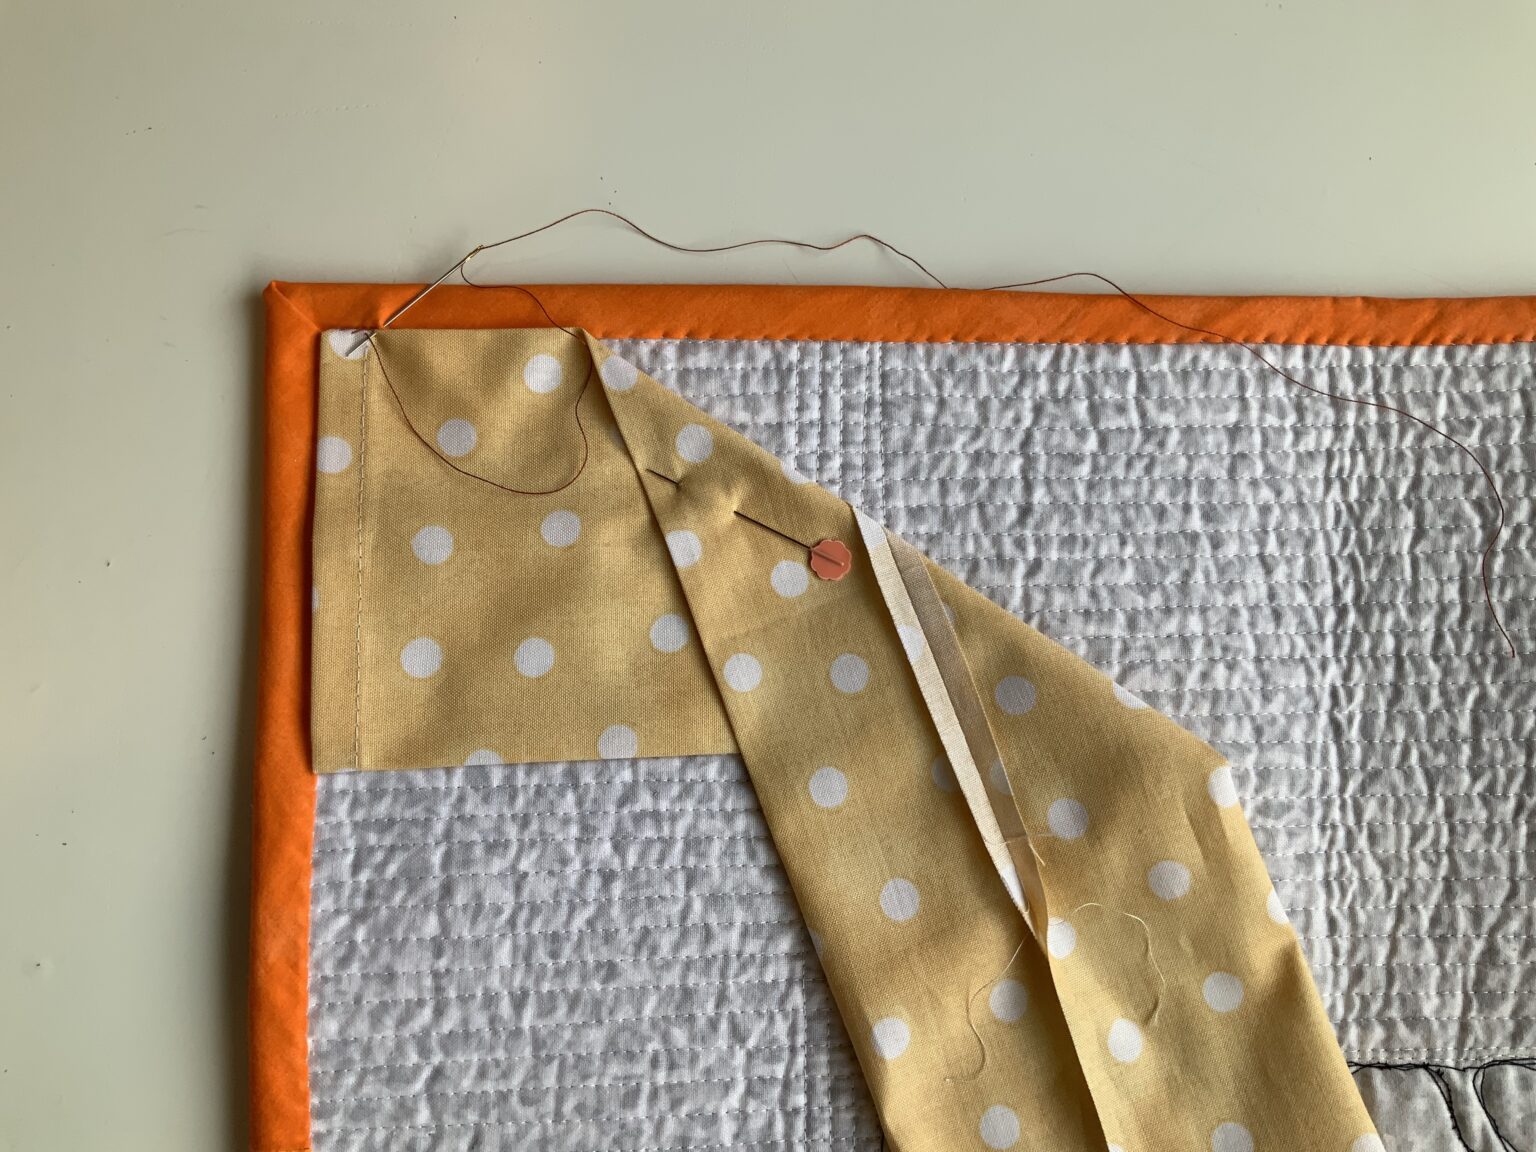
- Pin the sleeve across the back of the quilt with the narrower width of the folded fabric against the quilt back. Find the centre of both the quilt and the strip and work from the centre out, positioning the pins at right angles to the quilt edge, the head of the pin being on the outside edge.
- Attach your binding, stitching through all layers of fabric. You may find it easier to attach the binding and the sleeve one at a time. If you do, make the sleeve stitching line a smidge closer to the edge of the quilt to make sure that your binding stitching line is positioned correctly.
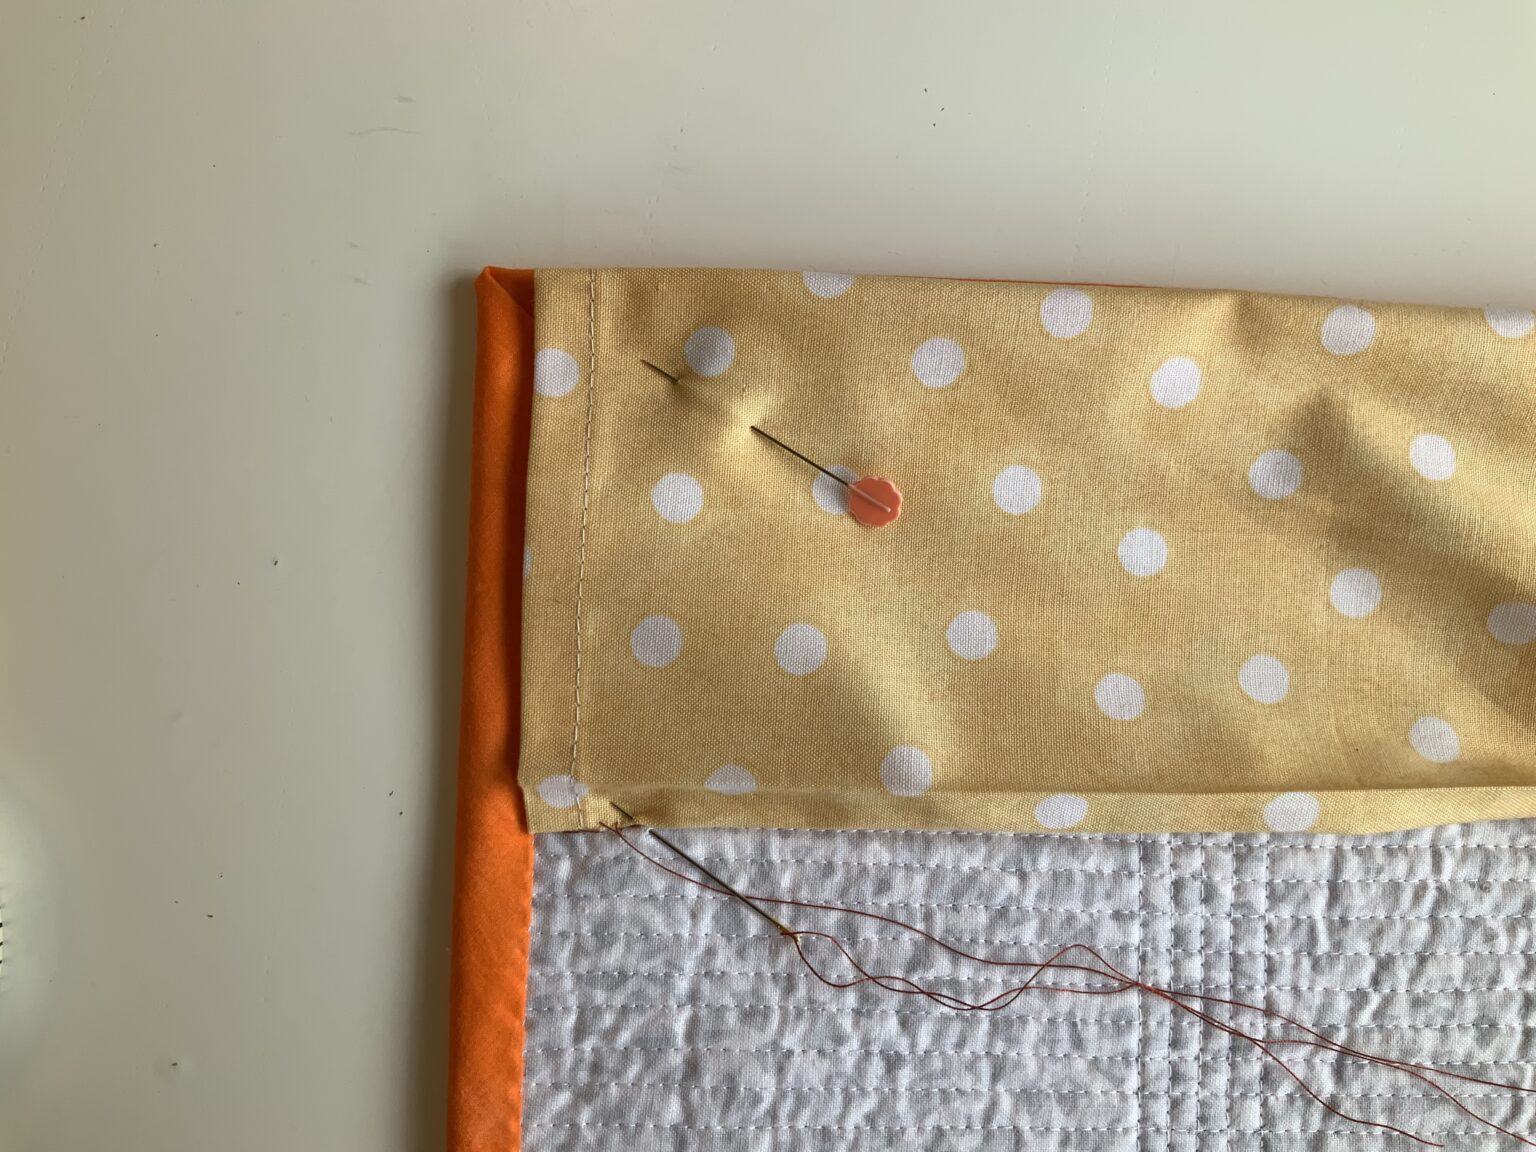
- Pin and then hand stitch the lower edge of the sleeve to the back of the quilt. The fold you pressed earlier will give you a stitching guide. The ‘bulk’ of the rest of the sleeve will cover the stitching and provide plenty of space to slide the hanging rod through the sleeve.
Attaching a Sleeve after the Binding has been Finished:
- Fold wrong sides together and machine a seam along the long edges of the fabric, making a tube.
- Press the seam open so that it is approximately centred on the ‘back’ of the tube.
- With the seam side down fold up a ‘pleat’ ¼” and ½” wide along the lower edge and press. This will make the back of the tube narrower than the front and give you a stitching guide when you attach to the tube to the quilt.
- Pin the sleeve with the seam against the back of the quilt and the fold of the sleeve against or just below the edge of the binding. Find the centre of both the quilt and the strip and pin from the centre out.
- Hand stitch both sides of the sleeve to the back of the quilt. For a large quilt you must make sure that your stitches on the upper edge are firm, small and close together – this line of stitching will be supporting the full weight of your quilt when it hangs.
Adapted from: Hanging Sleeve instructions from Victorian Quilters Inc Exhibition Handbook 2018
Adding a Hanging Sleeve to a Quilt
Quilt Bags
Fabric and Size
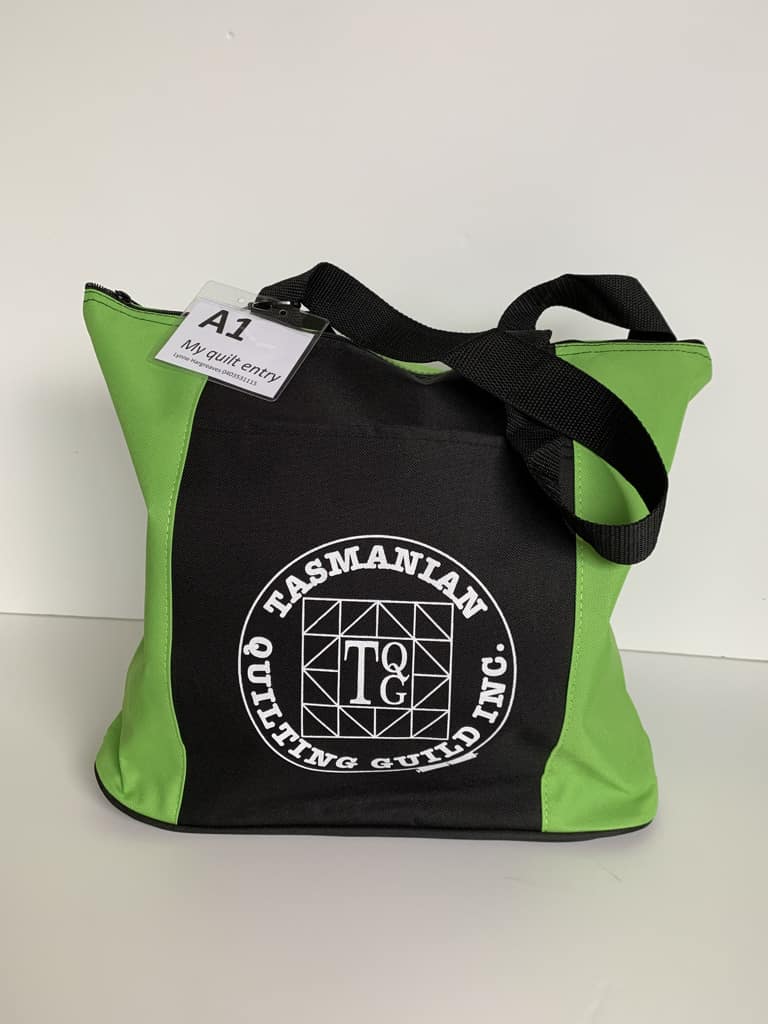
- Please find or make a bag that comfortably accommodates the quilt. There should be room around all sides and the bag should totally enclose the quilt (i.e. zippered fastening).
- Fabric for the bag should be sturdy and preferably in plain colours as the identification shows up well.
Closures and Handles
- Zips and Velcro are excellent closures.
- Handles make the bags easier to carry but should not be too long. Drawstrings are adequate as a closure but not as handles.
Bag Label
Make sure the bag is well labelled with name, contact details, quilt name and entry number clearly visible. In the past some entrants have also attached a photo of the quilt to the bags. This is helpful but optional.
Whilst every care is taken with the handling of quilts, please be aware that quilts will be folded and stacked on judging day in accordance with correct judging procedure. Special handling or folding requests cannot be accommodated.


